As the Internet develops at a faster and faster rate, even security experts can have problems trying to remain on top of the huge number of more and more complex threats and attack vectors that can be used against your website. This is where Reblaze can help you and in this article, we talk about how Reblaze helps you protect your Website.
Reblaze provides proprietary security technologies in a single, unified platform, safeguarding your websites from most of the dangers found online.
Your ‘Reblazed’ website will inhabit its own private, secure cloud on the internet. Fully accessible to legitimate traffic but invisible to attackers. Inside this environment, only legitimate traffic is allowed while the WAF (Web Application Firewall) will exclude all hostile traffic from your sites, apps or services.
Defences against hackers and intruders
Reblaze routes your traffic through their Security Gateways. The attackers cannot reach your network at all. Instead of reaching your servers, attackers will instead just see locked Reblaze gateways.
Even as the attackers create new types of attacks, quick countermeasures will be deployed across the Reblaze network, eliminating the need for you to worry about the continually changing threats.
Defences against DDoS attacks
Reblaze will keep your site up and responsive during a DDoS attack through:
1. Traffic distribution. Reblaze’s load balancing distributes the increased traffic across its global network of security gateways which relieves the stress on local bandwidth providers.
2. Resource scaling. Bandwidth deployment from the cloud allows Reblaze to scale resources as high as needed instantly, which absorbs even very large DDoS attacks.
3. DDoS detection and filtering. Reblaze is configured to correctly identify and target DDoS traffic which includes even the latest generation threats which pose as legitimate server requests. The DDoS traffic is filtered and never even arrives at your server. Your website receives only legitimate requests.
Defences against malicious bots and scrapers
Similarly, as with different types of hostile traffic, bots are distinguished and blocked before they arrive at your site. Reblaze utilizes cutting edge human and bot identification algorithms, recognizing malicious bots from your genuine traffic.
To do this, Reblaze analyses visitor behavior utilizes honeypots and similar methods to identify even the more advanced bots.
Getting started with Reblaze platform
After picking your desired option when it comes to the platform your website is using or even scheduling a demo with Reblaze to get a solution that exactly suits your needs, installing Reblaze to protect your website is as easy as just changing the DNS settings at your domain registrar.
How to integrate Reblaze with your WordPress website
In this post we will go over a quick setup guide to get your planet (Reblaze deployment which contains all your domains and web applications) up and running together with your WordPress website, assuming you have already either gotten in contact with the Reblaze team or deployed a Reblaze solution on your own.
Adding your Website to Reblaze platform
- Go to the link of you Reblaze deployment and log in on https://example-console.reblaze.com/
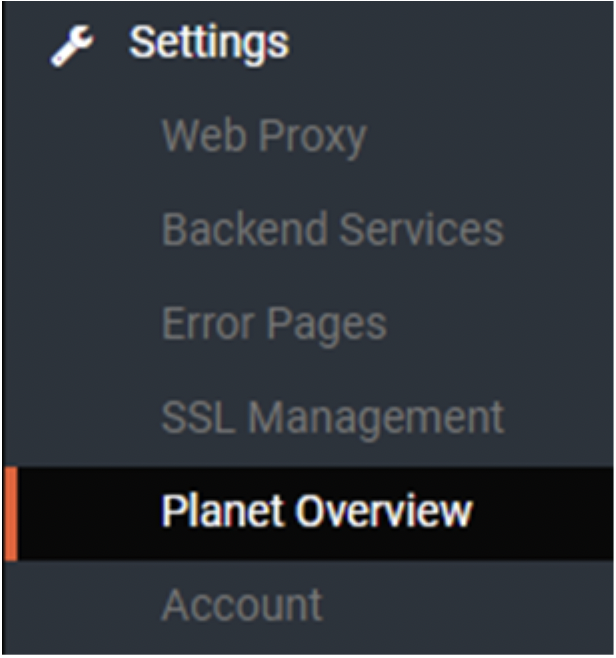
- Go to “Settings” and then “Planet Overview”:
- And now inside that page we have to use the “default.site” entry and click “Duplicate Application” in order to be able to be prompted about a new site we want to add by entering its name:

- After clicking the name of the newly created website on the “Planet Overview” page we will be taken to the “Web Proxy” page where we can go over all the default settings already there and see if you need anything changed in order to better fit your website.
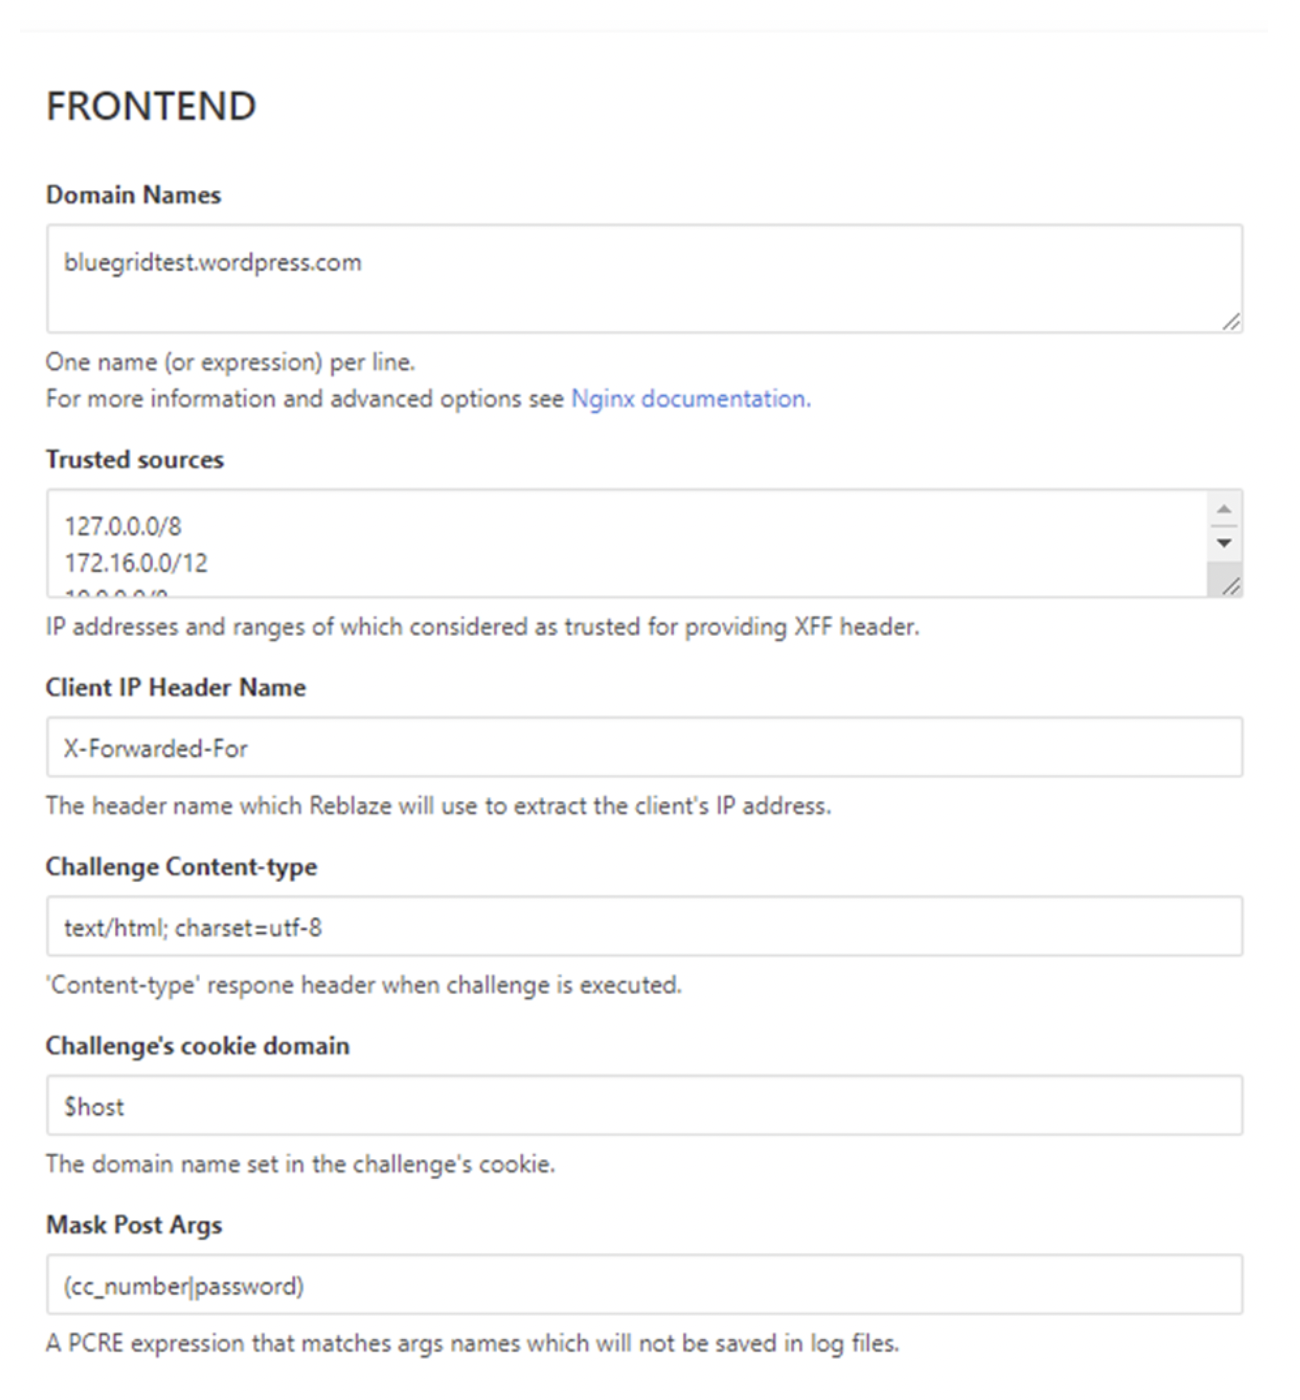
- The settings you might want to check out first and change if required are “Domain Names ” and “Trusted sources ” inside the “FRONTEND” section by adding more sourcers and domains if you have them and then clicking on the save button:
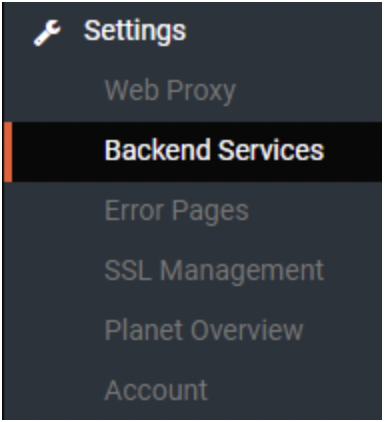
- The last thing would be to add “Hosts” at “Settings” > “Backend Services” if required as well and then saving those settings again:
- Although not always required it is recommended to publish your changes at the end of your configuration.
- You can do so by going to “Planet Overview” and clicking “Publish Changes” at the top right.
Adding an SSL certificate
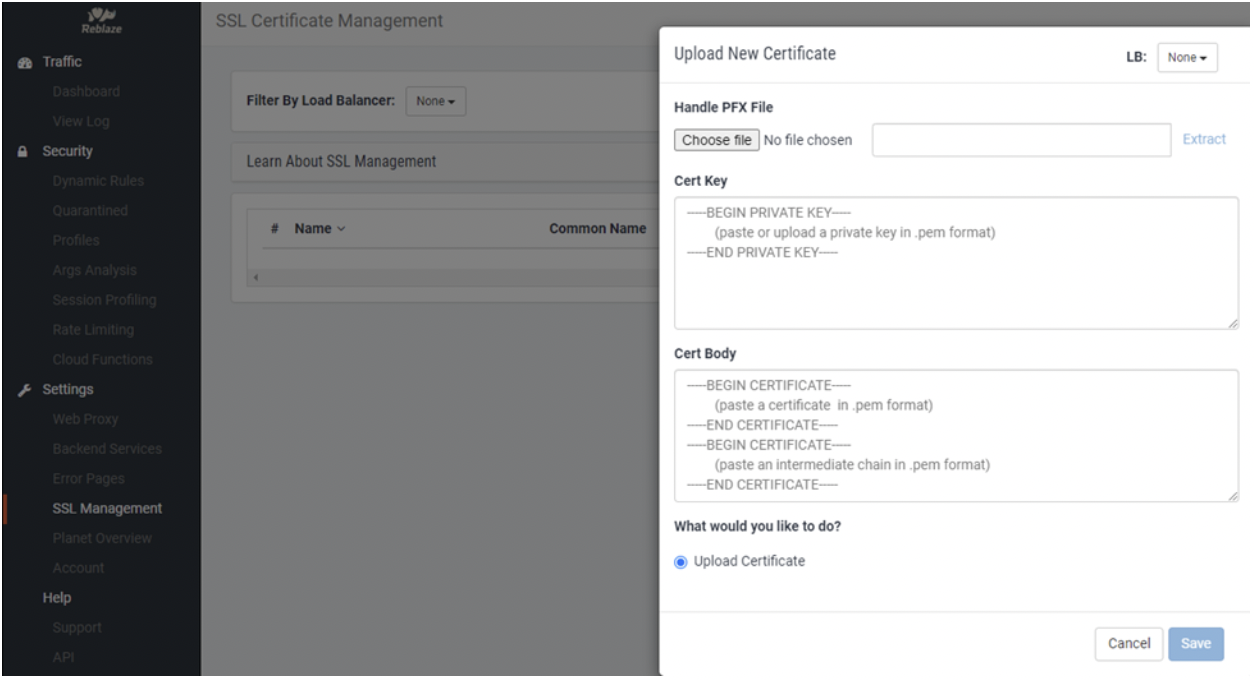
- In case you already have an SSL certificate you can upload it and configure it by going to “Settings” > “SSL Menagement” and then “+ New”:
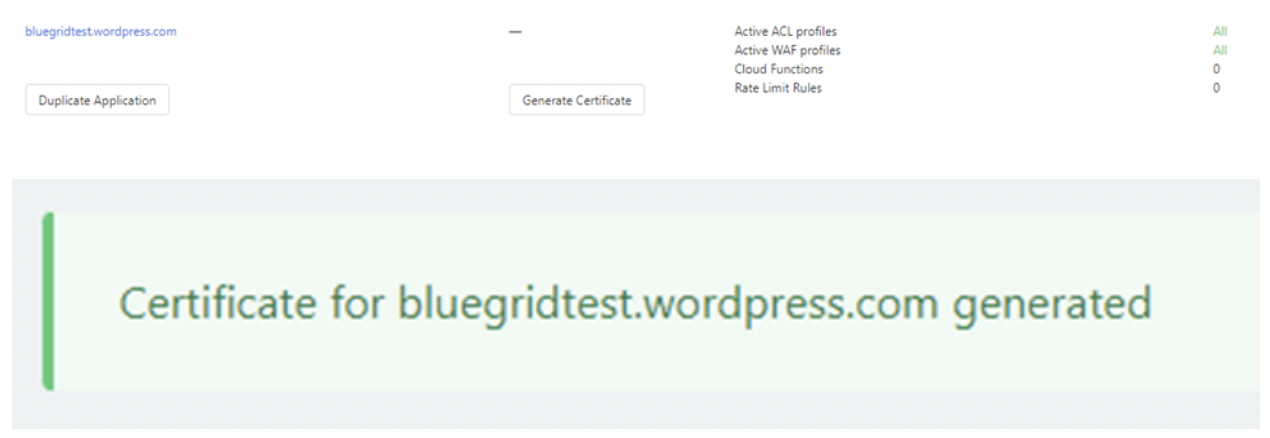
- And in the case you don’t have an SSL certificate you can generate one through Reblaze itself by going back to “Planet Overview” and clicking “Generate Certificate” on your wanted website:
Configuring DNS
You can configure most of the DNS setting at the “SSL Menagement” page of Reblaze but for this example, we will be using WordPress itself instead.
- Go to your WordPress admin panel.
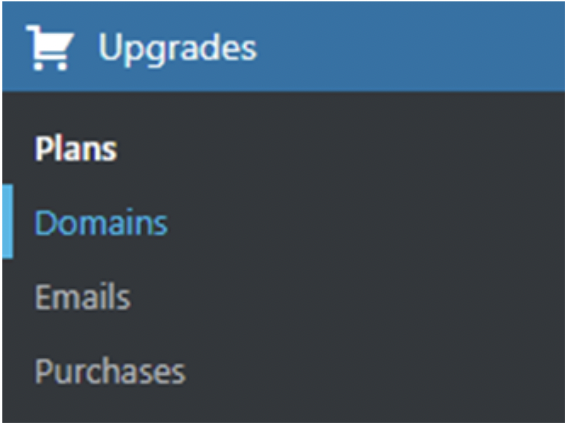
- In the menu on the left pick “Upgrades” and then “Domains”:
- Select the domain that you want.
- Inside the domain settings click “Change your name servers & DNS records” and then “DNS records”:
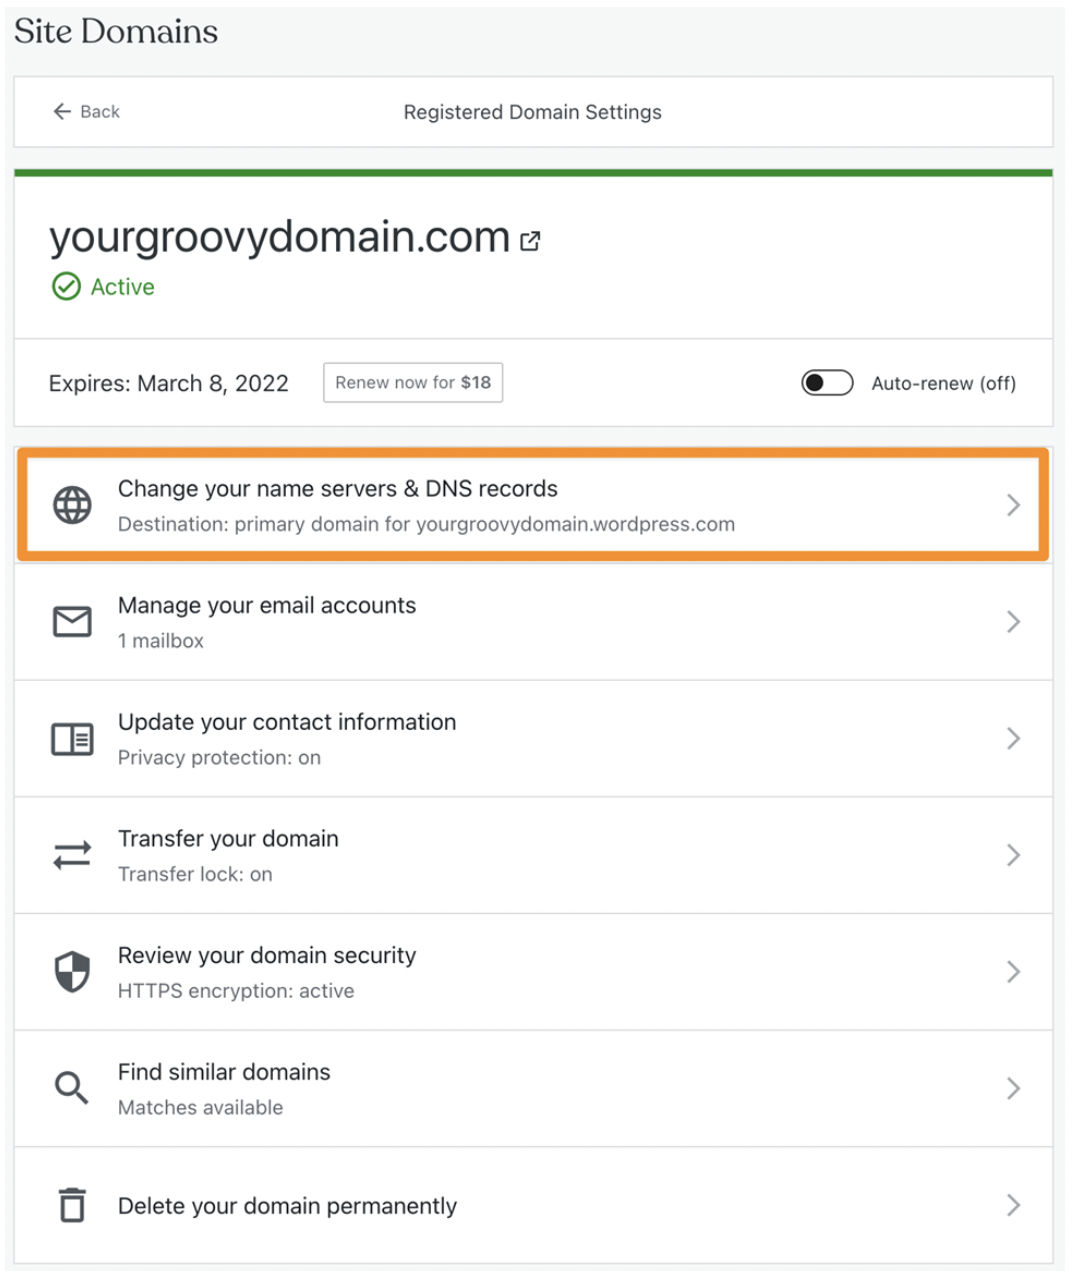
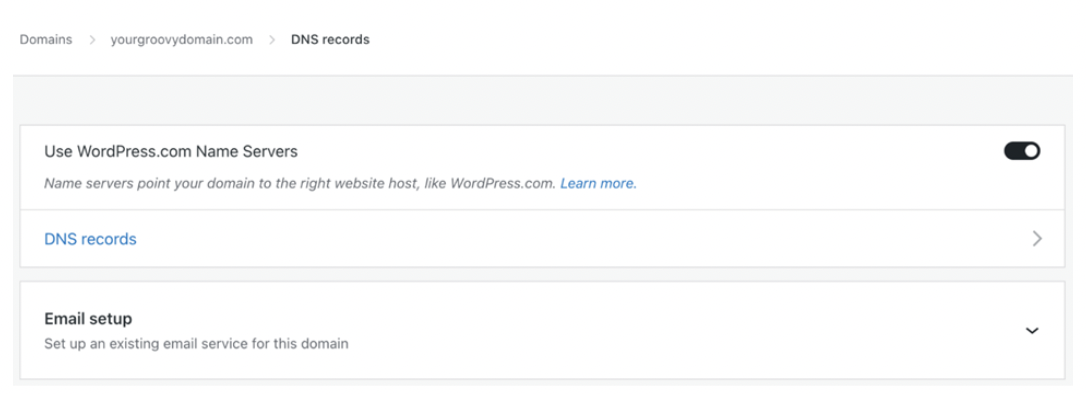
- Now once inside you will have a full view of all the settings of your WordPress DNS as shown below:
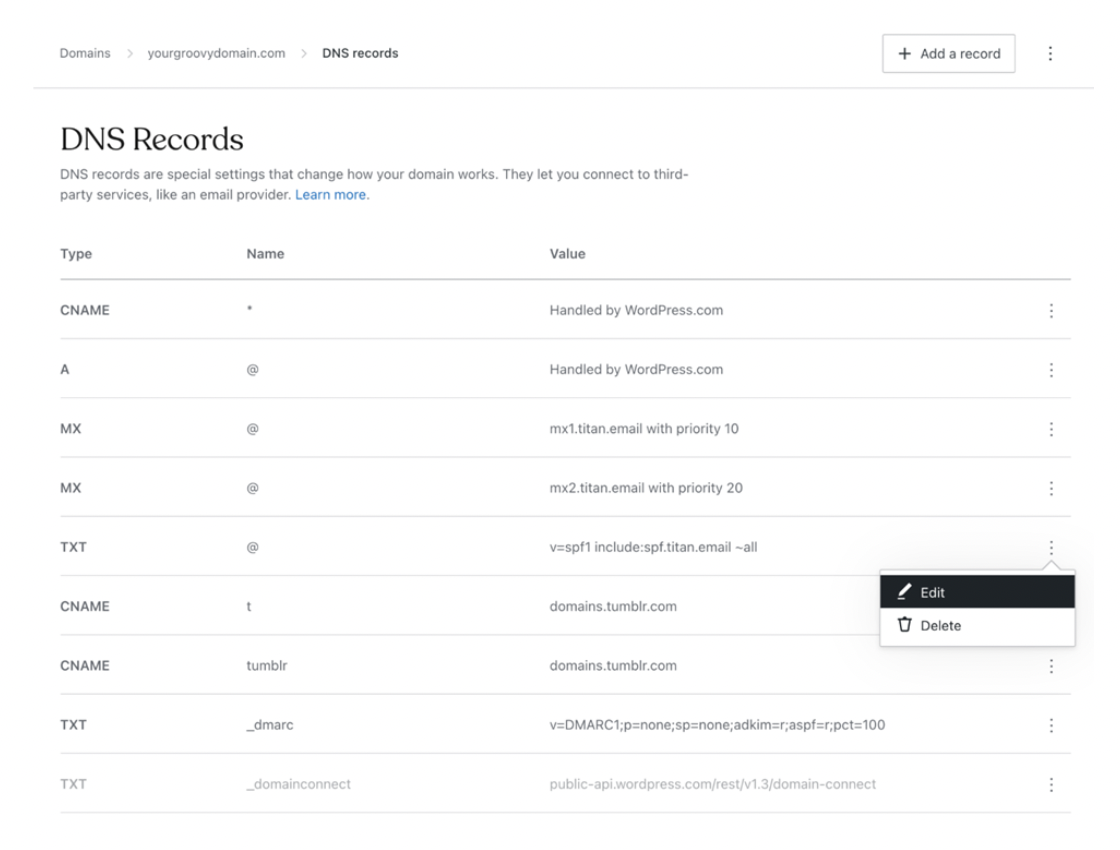
You have the option to either edit these fields or add an entire new record by clicking the “+ Add a record” button in the top right corner.
In case you are unsure about a specific field you can consult official Reblaze DNS documentation explaining the precise format for each and every field.

