For ease of access and work with databases, it’s always good to have the GUI. Yes, working with a large number of databases sometimes requires us to use GUI solutions. I personally prefer console access to the database. But, in scenarios with a focus on the underlying cause, any GUI is welcome. Today, we will run through the process of how to install DBeaver on CentOS.
DBeaver is the database management tool and if you are installing it on a remote CentOS server, make sure you have the RDP service installed first! Otherwise, just continue from here.
OS Version: CentOs 8.2 x64
Pre-requirements
Before we can install DBeaver on CentOS let’s make sure that we have at least one of the database engines installed. This is a list of DBeaver supported database engines:
- MySQL
- PostgreSQL
- MariaDB
- SQLite
- Oracle
- DB2
- SQL Server
- Sybase
- MS Access
- Teradata
- Firebird
- Derby
We are going to use the MariaDB server as it’s already installed on our test server. If you don’t have it, follow these steps to install MariaDB on CentOS server.
Now, let’s install a must-have requirement, JAVA:
$ sudo dnf install java-11-openjdk-devel
$ sudo yum install java-1.8.0-openjdk  java-1.8.0-openjdk-devel
Check if it’s installed by running:
$ java -versionInstallation
Download the DBeaver package:
$ sudo curl https://dbeaver.io/files/dbeaver-ce-latest-stable.x86_64.rpm -o dbeaver-ce-latest-stable.x86_64.rpmExecute the installation:
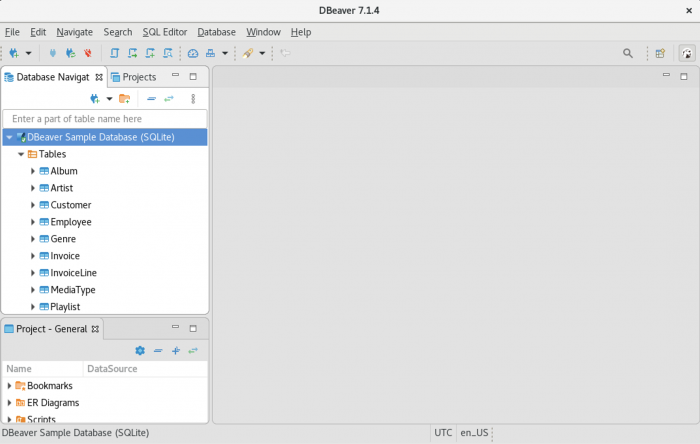
$ sudo rpm -Uvh ./dbeaver-ce-latest-stable.x86_64.rpmThat’s it! Now, find the launcher for DBeaver and hit it:

If you want, DBeaver can create a test database for you to begin exploring it. Otherwise, you can connect it to your own database and continue from there.
Connect to Database
Let’s connect the DBeaver to our database now! First, navigate to Database – New Database Connection:

Next, let’s select our database engine (in our case MariaDB):

Almost there! Now, use our database user credentials to connect DBeaver to MariaDB:
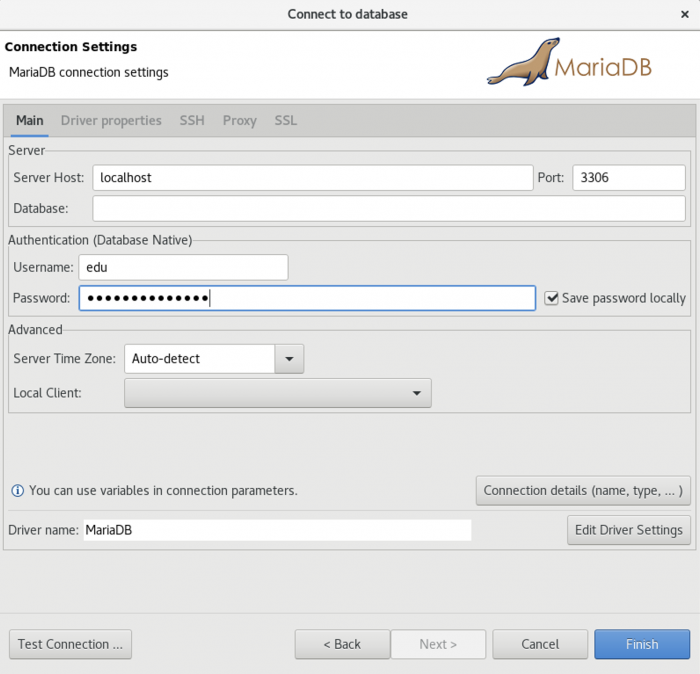
That’s it, now we can see our local databases served by MariaDB server:

Voila! Now, the real work can begin 😁! Read you later ✌️.